Create Spring Boot container images with Buildpacks
Overview
In this post we will build an OCI container image of a Spring Boot sample application using Cloud Native Buildpacks. We will then run the container using Docker.
Introduction
Spring Boot is one of the most popular frameworks to develop applications and micro-services on the Java platform. Spring Boot allows to execute applications using embedded Java Servlet Container like Tomcat or Jetty making it appropriate to be run in containers.
To run an application in a container, you need to create a container image. You can achieve that you have multiple options:
- Manually with a Dockerfile
- Using a Maven plugin
- Using a buildpack
In this post we are focussing on the last option: use Buildpacks to create a container image for a Spring Boot application.
Buildpacks provide a higher level of abstraction than Dockerfiles auto-discovering the right way to build and package an application based on its characteristics (programming language, framework, configuration...) including application and OS dependencies. Platforms like Heroku and Pivotal Cloud Foundry use Buildpacks.
We are going to use Cloud Native Buildpacks. This project is backed by the Cloud Native Computing Fundation that is also the home of fastest-growing projects like Kubernetes, Prometheus or Envoy.
Pre-requisites
For this tutorial, you will need to have installed:
- Git to get the Spring Boot sample application.
- JDK 1.8 or later to run the Spring Boot sample application locally without Docker (optional).
- Buildpacks to build the OCI container image.
- Docker to run the OCI container image.
Set up the Spring Boot app
As Spring Boot sample application we are going to use the PetClinic. Note that we could have picked any Java application built with Maven, not necessarily a Spring Boot application.
Get the PetClinic source code and run it
Get the PetClinic source code using Git:
git clone https://github.com/spring-projects/spring-petclinic.git
Run PetClinic locally (optional)
Move to the local copy of the PetClinic project:
cd spring-petclinic
Build the application using the Maven wrapper:
./mvnw package
Run the application:
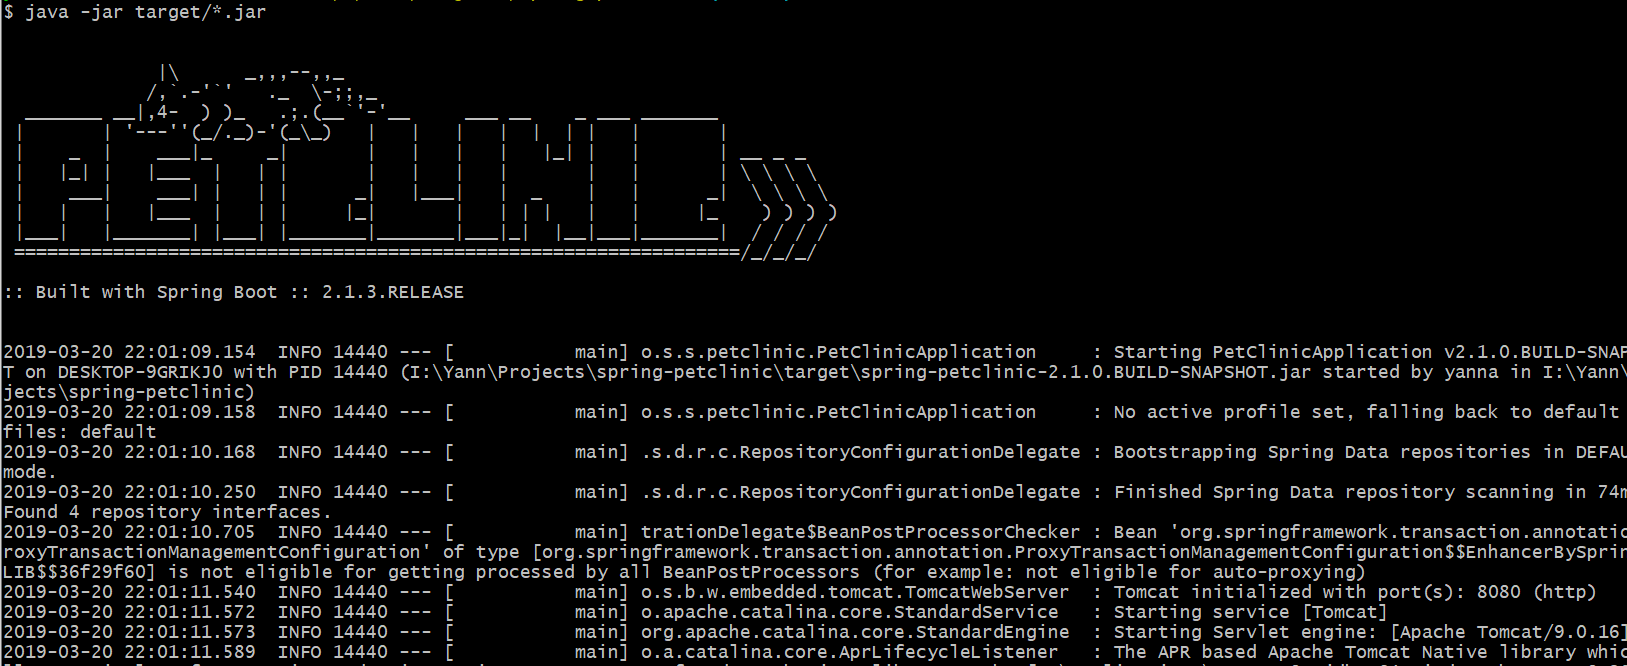
java -jar target/*.jar
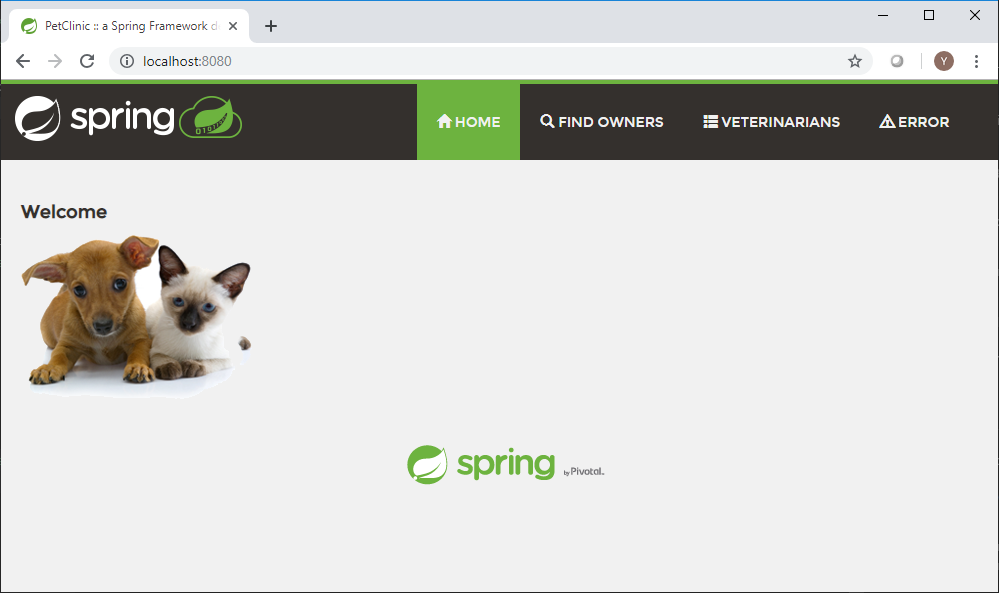
The PetClinic application runs locally:
You can access the PetClinic Web application opening the browser on the URL http://localhost:8080/ :
Build the container image
Once the Buildpacks is installed, the command pack should be available.
The general syntax to build an application is the following:
cd /path/to/node/app
pack build private-registry.example.com/my-app:my-tag --publish
Let´s build the container image for PetClinic:
cd spring-petclinic
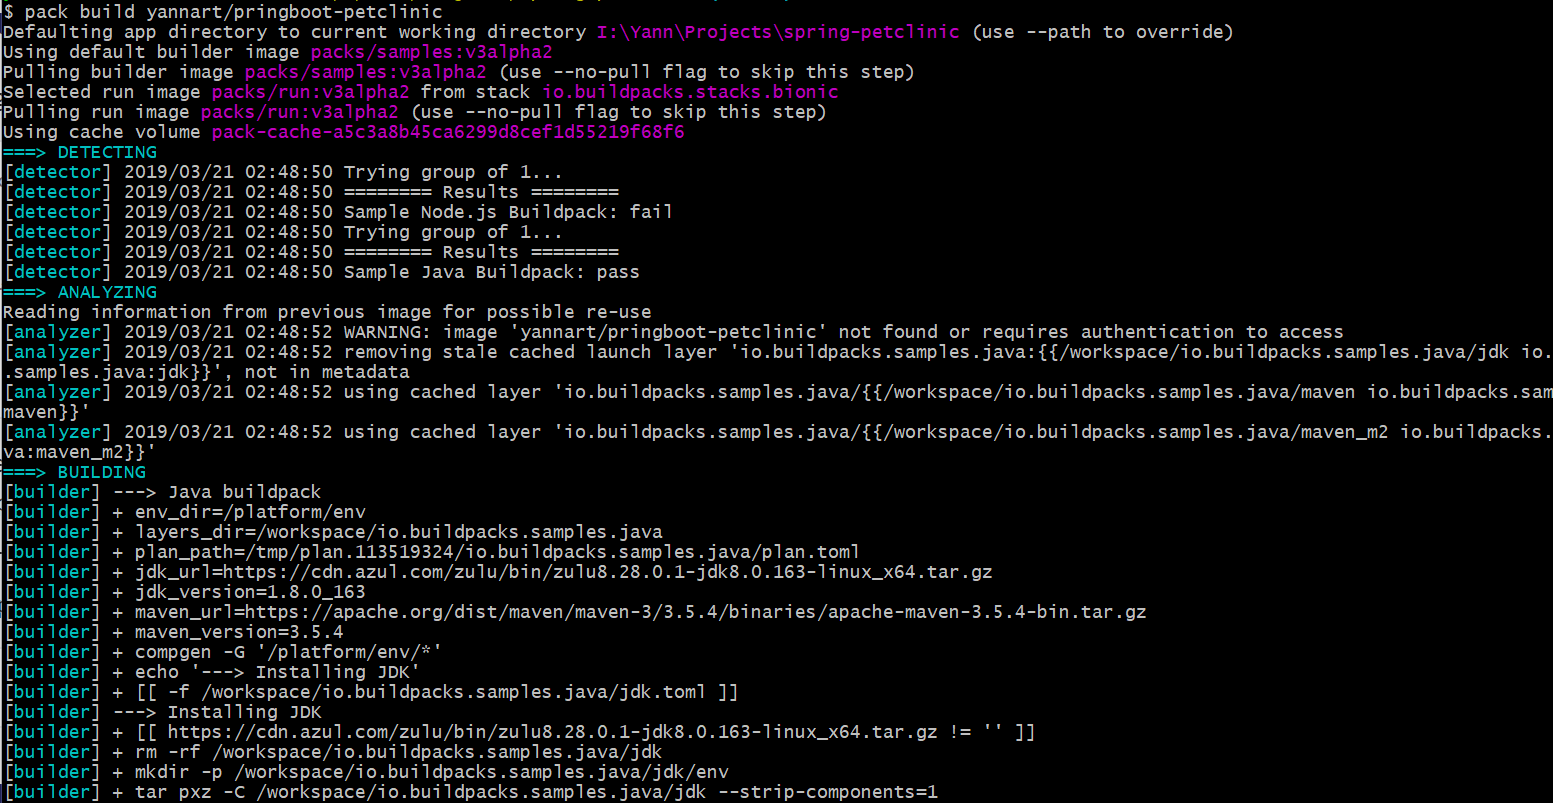
pack build yannart/springboot-petclinic
Buildpacks will detect the right buildpack to use, get the necessary dependencies like the JDK and Maven, build the project and package it in a container image:
 [...]
[...]
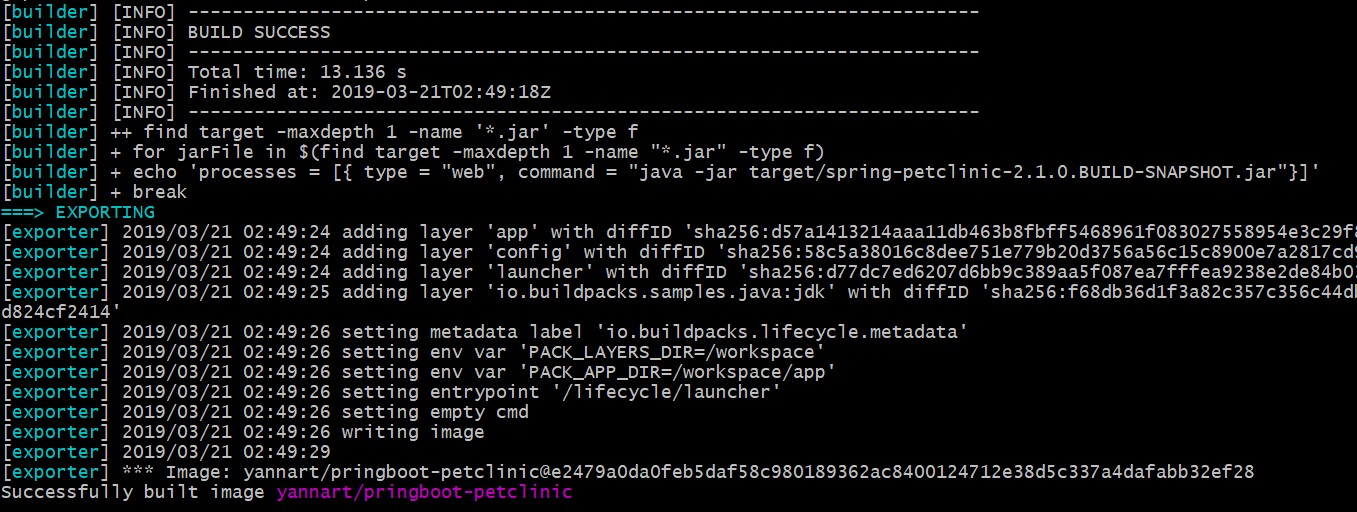
The lifecycle of the build follows the reference implementation described in the Buildpack API v3.
Run the container with Docker
Once the container image is built and available locally, it can be run with Docker:
docker run -p 8080:9090 yannart/springboot-petclinic
In this example we are mapping the port accessible externally 9090 to the application port 8080, but any other available port could be used.
You can then access the PetClinic Web application going to the URL http://[docker_host]:9090. In my case http://localhost:9090 .
Summary
In this post we have seen how we can automate the build of a Spring Boot application and its packaging in a container image using Buildpacks. The container image was then used to run the application with Docker.
This process could be easily be included as part of a CI/CD pipeline.